Kory and I have a bedroom in our house that for about 6 months after moving in our house it still served as a room to house boxes and other miscellaneous items! I think it drove both of us crazy but we just did not know what we wanted to do with it. We finally decided on upholstering a headboard and attaching it to a metal bed frame. The project turned out really great and we are very happy with it. So here's how we did it:
Materials Needed:
- 4x8 sheet of plywood $15
- 6 washers $2
- 2 yds upholstery fabric from JoAnns.com $50
- polyester batting $10
- button cover kit $3
- 3M Spray Glue $4
- 2x4 and bolts to attached the headboard to the bed
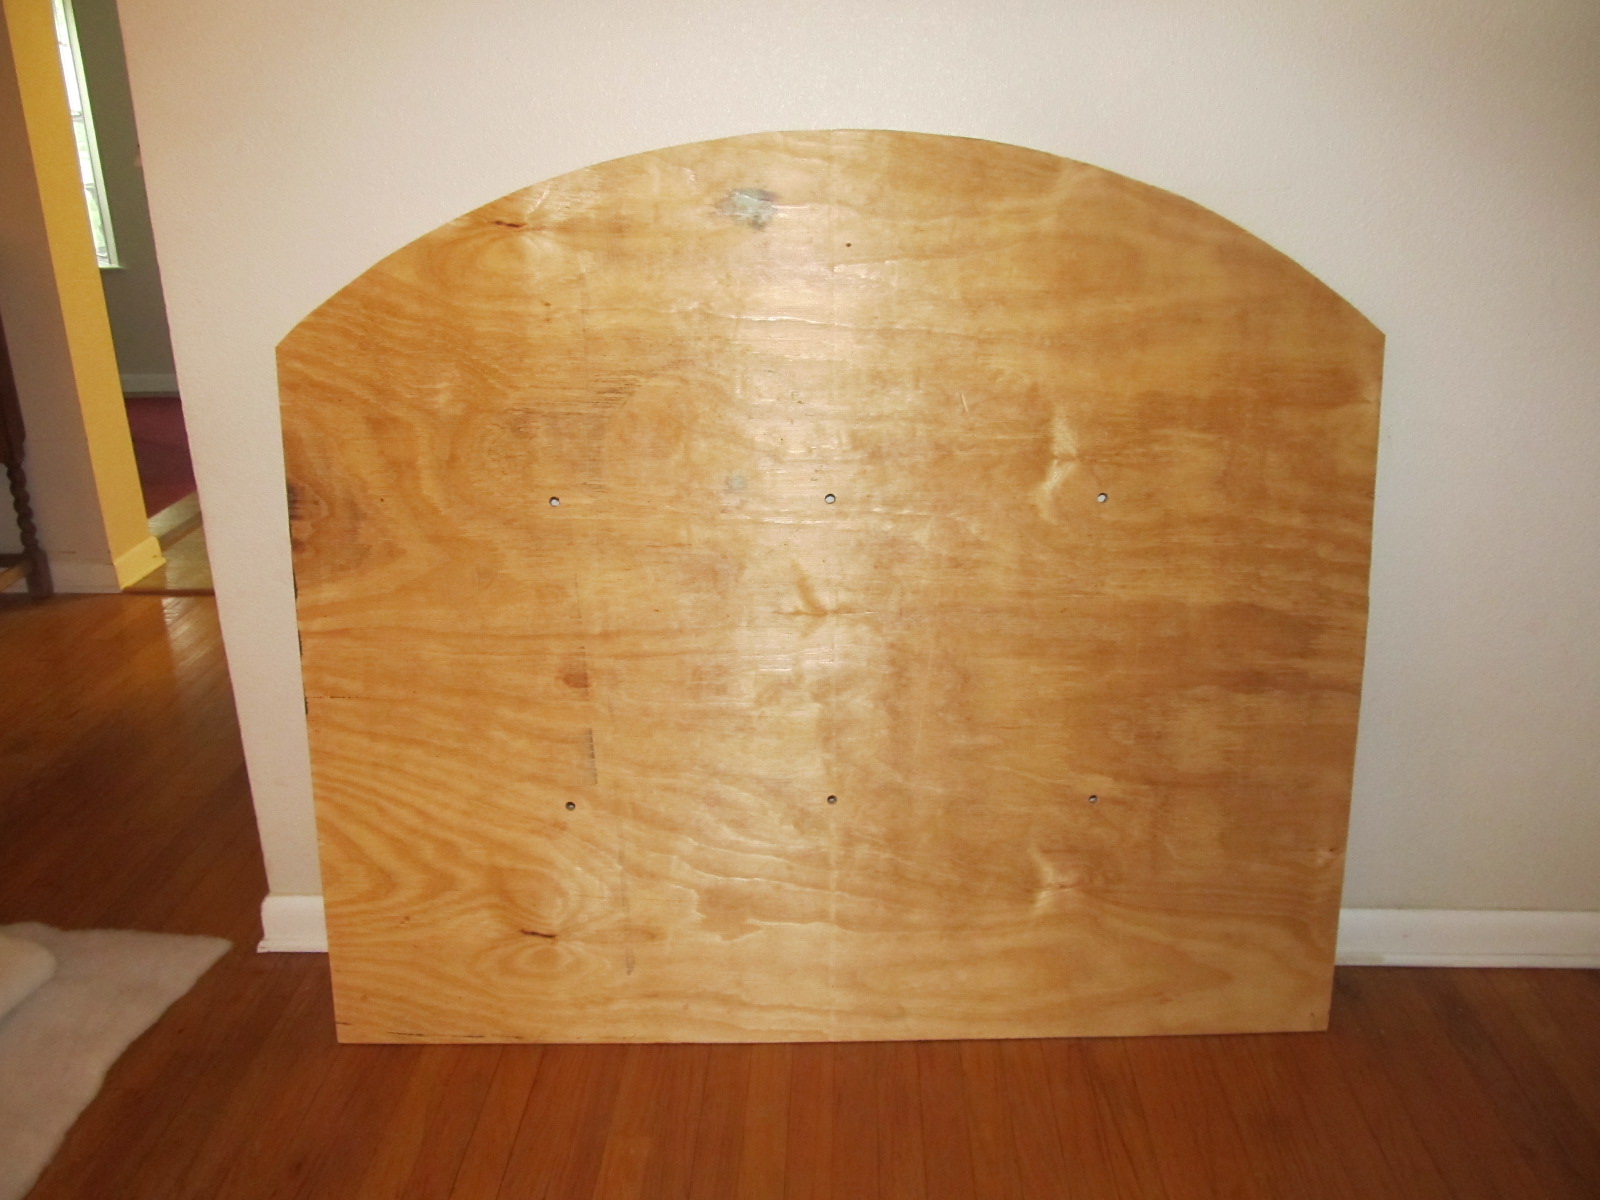
Step 1: When you know what size bed you will be using your headboard for cut the plywood. Decide what shape you want your headboard to be, there are so many different styles but we decided to go with a very simple one.

Step 2: Next drill the holes in the board where you want your buttons to go. We drilled 6 holes for buttons.
Step 3: Lay the board down on the ground, spray the board with your spray glue and then carefully lay your batting down over the board making sure that there is about 2 in. of extra batting so that you can pull it over the back.
 |
| Laying batting down |
 |
| After we stapled the batting to the back |
 |
| Front of the headboard |
Step 4: 2 yds. of fabric was definitely more than we needed, I also needed a little bit of the fabric to do the buttons and I really wanted to have enough to make a pillow for the bed. So to make sure we used our fabric wisely, we lined it up on one side with about a 2 in overlap and then cut the other side to have a 2 in over lap. Just like the batting, spray some glue over the batting and lay the fabric on top, then staple it to the back.
 |
| Fabric laying over the batting |
 |
| Extra fabric before it was cut |
 |
Back of Headboard ( I cut off excess fabric when we were all done) |


Well that is pretty much it! We attached it to the bed frame and then we were done. I am really happy with they way it turned out and as soon as the room is ready and decorated I will post pictures of the final product!
Let me know if you have any questions,
Amanda
No comments:
Post a Comment